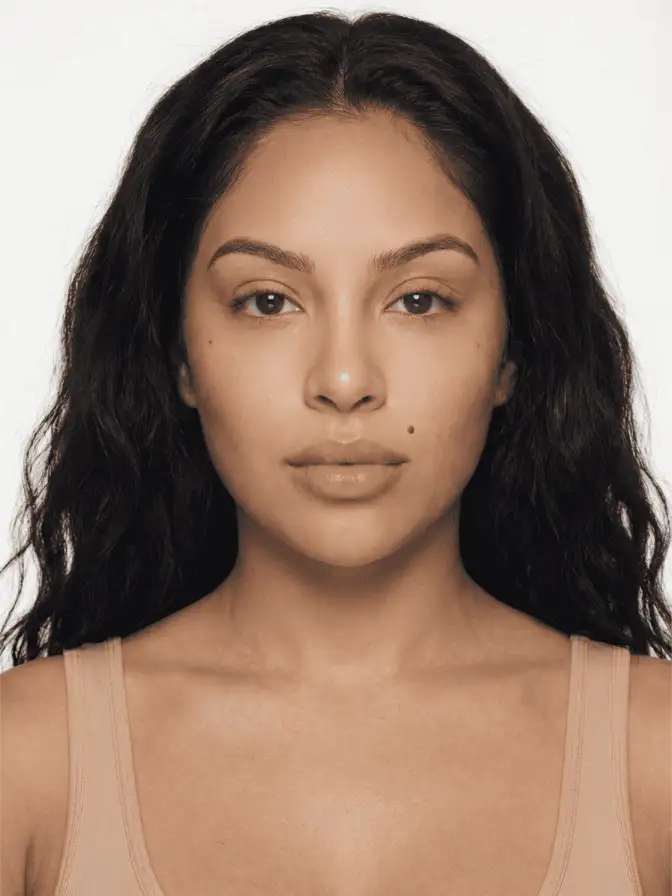
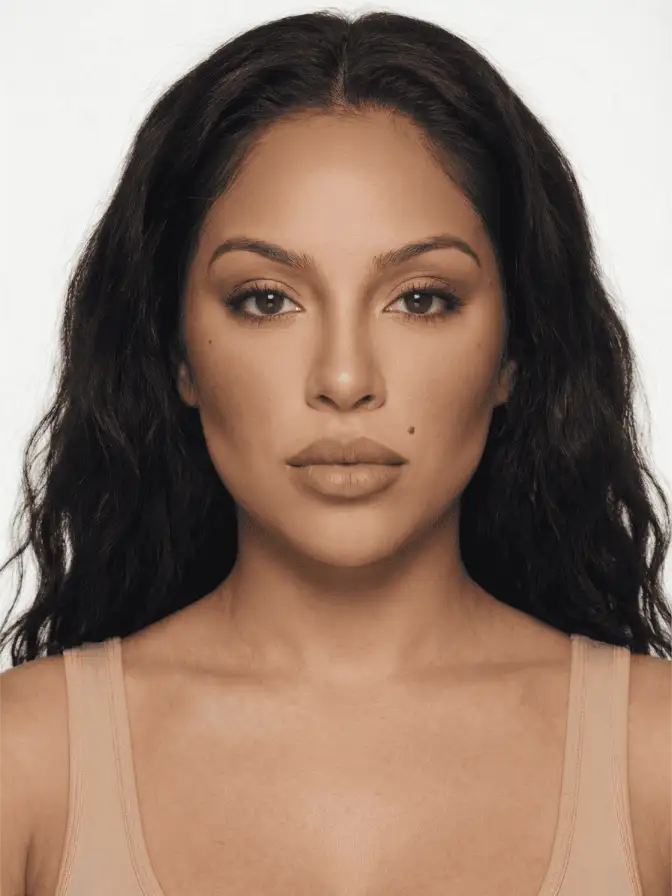
Color Correcting by Undertone: When It Actually Works
Green, peach and lavender correctors are just the color wheel applied to skin. Here is which discolorations each one cancels, and when a corrector is overkill.
Most color correcting confusion comes from treating it like magic when it is just the color wheel. Opposite colors cancel each other. Painters have leaned on this for centuries, and makeup artists borrowed it wholesale: lay a color over its complement and the two neutralize toward a brown that sits close to skin. That is the entire principle. Everything else is knowing which problem is which color.
The practical payoff, as L’Oreal’s correction guide puts it, is that optical neutralizing lets you use less product overall. Cancel the redness first and your foundation no longer has to bury it, so the finish stays thin and skin-like instead of heavy. Get the color logic wrong, though, and you have added a layer that does nothing but crease.
Green cancels red
Green sits opposite red on the wheel, so a green corrector is for redness: an angry blemish, a patch of rosacea, the broken capillaries around the nose, a healing spot. Tap a sheer green over the red, blend the edges, and the two average out to something neutral that your foundation can then cover in one pass.
The mistake people make is reaching for green when they do not have red to cancel. On clear skin a green layer just goes grey under foundation. Reserve it for genuine redness, use a fraction of what you think you need, and press rather than rub so you do not lift it off the spot you are trying to treat.
Hybrid products have made this easier. Dr.Jart Cicapair Tiger Grass started as a green cream that adjusts to a beige tone-up as you blend, which is color correction and a light base in one step, handy if your main concern is overall ruddiness rather than one spot.
Peach and orange cancel blue
Under-eye darkness is usually blue, purple or brown, and warm tones are its opposite. This is where peach and orange earn their reputation. Bobbi Brown’s Corrector range built a cult following on exactly this, with peach and bisque shades for lighter skin and deeper salmon and orange tones for medium to deep skin.
Skin depth decides the shade. A fair complexion with lavender-blue circles wants a light peach; go too orange and it glows through the concealer. Deep skin with strong blue-black darkness needs a true orange or brick tone, because peach is not pigmented enough to neutralize that much blue. Brownish circles are their own case and respond to a warm salmon rather than a cool concealer, which only makes them look ashy.
This is the single most common correcting mistake on deeper skin: reaching for a peach made for fair complexions and ending up with a grey, lifeless under-eye. Brands like Live Tinted and Danessa Myricks built whole ranges around richer orange and red correctors precisely because the standard drugstore peach quits well before it has canceled the depth of color it is up against. Match the pigment strength to the problem, not just the hue.
Lavender and yellow cancel sallowness
Yellow is the color most people forget they have. A dull, sallow, tired cast over the cheeks or across the whole face is excess yellow, and lavender sits opposite it. A purple-toned primer or corrector swept over sallow areas restores a bit of brightness and life, which is why lavender shows up so often in correcting palettes marketed for “dull skin.”
The reverse also holds. A yellow corrector cancels mild purple, so it can soften the look of bruising or a purplish under-eye on its own, and yellow-toned concealers double as a brightening layer for that reason. NYX’s color correcting palette and similar drugstore sets give you green, peach, lavender and yellow together precisely so you can mix and match by zone.
For full-face coverage where every tone has to read true under bright light, this is where correction pays off most. The high definition tutorial and the broadcast-ready look both depend on an even base under unforgiving lighting, and a thin corrective layer in the right zones keeps that base from going patchy on camera.
Apply it thin, and set it
Technique matters as much as color choice. A corrector is a neutralizing layer, not a coverage layer, so it should go on sheer. Warm a small amount on the back of your hand, press it into the discolored area with a fingertip or a damp sponge, and stop the moment the underlying color stops fighting back. Rubbing drags the product off the spot you are treating and thins it where you need it most.
Under the eyes, where skin is thinnest and most prone to creasing, less is the whole secret. A heavy peach corrector packed into fine lines will collect there within an hour, and no setting powder fully rescues it. Use a barely-there amount, follow with the lightest possible touch of concealer, and set only the very center with a translucent powder. The drier you make a corrected under-eye, the faster it cracks, so a soft, slightly dewy finish actually wears better through the day.
When to skip it entirely
Here is the part the palettes will not tell you. A lot of the time you do not need a corrector at all. Beautygeeks made this case years ago and it still holds: if your discoloration is mild, a good concealer matched to your skin covers it cleanly without an extra step. Every layer you add is another thing that can crease, separate or oxidize, and under-eyes are the first place that shows.
So the honest test is whether concealer alone fails. Put your usual concealer on the area. If it covers and looks natural, you are done. If it goes grey over redness, or turns ashy and lifeless over dark circles no matter the shade, that is the signal that the underlying color needs neutralizing first. Strong rosacea, deep hereditary under-eye darkness and stubborn post-blemish marks are the cases that genuinely benefit.
For an everyday face, the no-makeup-makeup approach usually skips correction completely and spot-conceals only what shows. That is not a shortcut so much as the correct call for most skin on most days. Match the problem to its opposite, use less than feels right, and let your concealer do the matching afterward.
Frequently asked
Do you put color corrector on before or after foundation?
Before. The corrector's only job is to neutralize discoloration, so it goes on bare skin or over moisturizer first. Foundation and concealer then sit on top of an already-even base, which means you need less of both.
What color corrector cancels dark circles?
It depends on the color of the circle. Bluish or purple under-eyes are canceled by peach on fair to medium skin and by orange on deep skin. Brownish circles respond better to a warm bisque or salmon tone rather than a true orange.
Do I really need a color corrector?
Often not. If your discoloration is mild, a well-matched concealer alone covers it without adding layers. Correctors earn their place when redness or darkness is strong enough that concealer turns grey or ashy trying to mask it.
Continue reading
- technique Stained Blush Without the Blotch: Applying Watercolor Cheek Tints Liquid and water-gel blush goes patchy because of speed and prep, not the formula. Here is the small-area, damp-finger method that fixes the blotch for good.
- technique Puppy eyeliner: the downturned wing for rounder eyes Puppy liner drops the flick instead of lifting it, the opposite of a cat eye. Why the downturned wing flatters hooded and downturned eyes, and how to draw it.
- technique Eyeshadow by Eye Color: The Complementary Rule, Used Well The color wheel says wear the opposite of your eye color. That is true and incomplete. Here is why complementary shadow works, and the nuance for each eye.